Free Mealtime Visual Schedule for Autism
Mealtimes stack sensory input, social demand, and food pressure into one transition. A mealtime visual schedule lowers the load by showing the sequence and, just as importantly, showing that the meal has a clear end. This template includes seven common steps your family can adapt.
- 7 activities
- Free printable PDF
- Editable in browser
Choose light or dark-skinned figures so the visual schedule looks like your child. The preview, printable, and PDF all match your choice.
Editor preview
All 7 steps with picture symbols, ready to customize before you print.
- Step 1
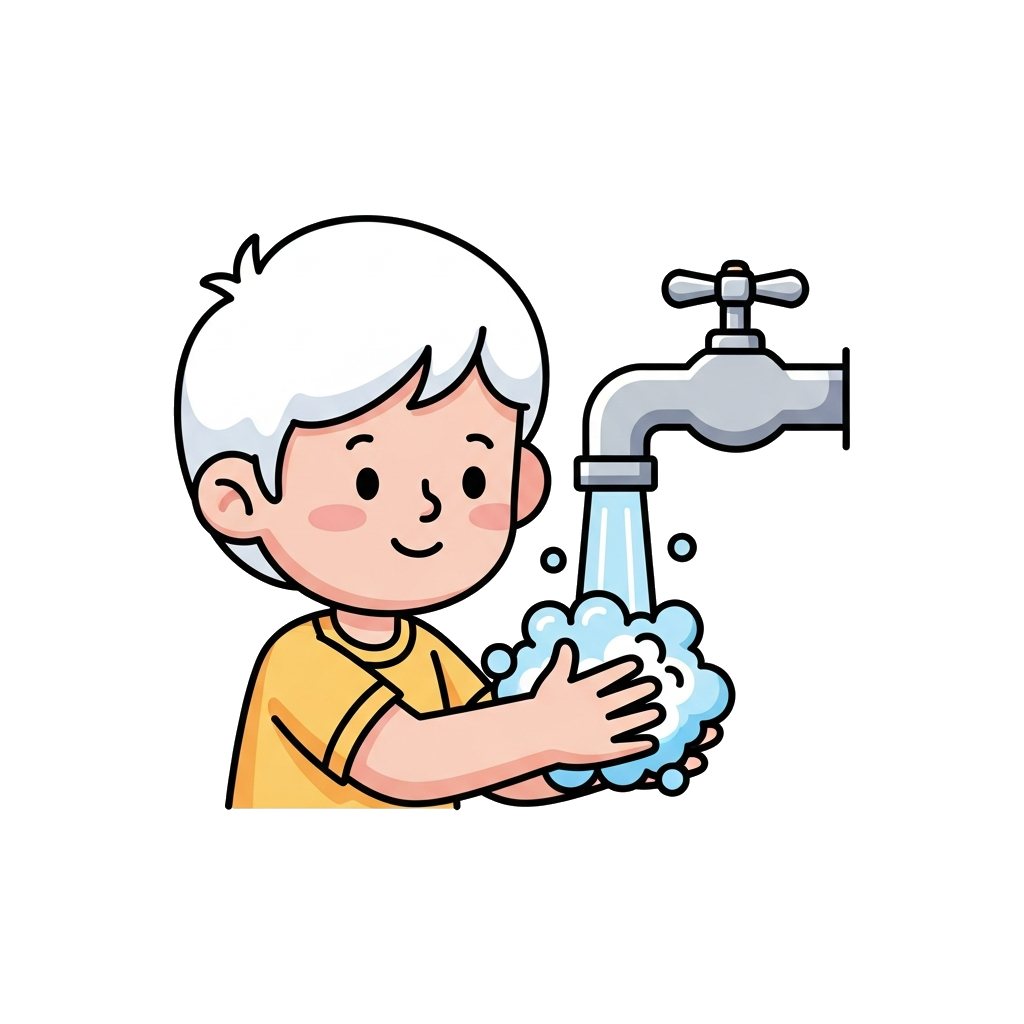 Wash your hands
 - Step 2
 Come to the table
 - Step 3
 Eat your food
 - Step 4
 Take a drink
 - Step 5
 Wipe your mouth
 - Step 6
 All done
 - Step 7
 Clear your plate
Printable preview
What the free PDF looks like once you download or print it.

For a lot of autistic kids, the hard part of a meal is not the food itself. It is the transition: stop what you are doing, move to a loud bright room, sit still, manage smells and textures, and stay there until some unclear point when an adult says you can leave. That open-endedness is what many kids are refusing when they refuse a meal. A visual schedule answers the unspoken question every demand raises, which is how long this lasts and what happens next.
This template covers seven steps in the order most families use: wash hands, come to the table, eat, take a drink, wipe your mouth, all done, clear your plate. The all-done card matters more than it looks. It gives your child a visible finish line, which makes it easier to commit to the start. A child who knows the meal ends is far more likely to begin it.
Keep the schedule about the routine, not about the amount eaten. The steps walk your child through arriving, sitting, and finishing. They do not promise a clean plate, and they should not be used to pressure bites. Pressure raises the stakes of every meal and tends to shrink the list of accepted foods over time. The schedule lowers the demand; it does not add a new one.
Pair the schedule with a predictable setup. Use the same plate, the same cup, and the same seat each meal. Serve safe foods alongside any new food, every time, so a refusal is never all-or-nothing. If touching foods is a problem, a divided plate keeps items separate. None of this lives on the schedule, but all of it makes the schedule work.
Print the schedule and put it where the meal happens, on the table or taped to the wall beside it. For a child who cannot read, follow each step with them and point to the picture. With repetition the pictures become the cue and you move from being the source of the demand to being the person who helps reference the plan.
When to use this template
Best for kids ages 3 to 12 who resist coming to the table, struggle to stay seated, or get overwhelmed by the open-ended nature of a meal. Especially helpful when verbal prompts at mealtimes have turned into a daily battle.
How to customize this template
- Swap the fork icon for a spoon, or add both, to match how your child actually eats.
- If your child needs a clear start signal, add a timer card at the front so they can see how long the meal will last.
- Add a sensory regulation step before the meal (a short walk, deep-pressure squeeze, or swing) if your child eats better after one.
- Replace the drink card with the specific cup or drink your child uses, or photograph their real cup and use that instead.
- Keep a no-thank-you spot on the table for foods your child does not want, so declining a food stays a small, acceptable step rather than a meltdown.
Frequently asked questions
- How many steps should a mealtime schedule have?
- Start small. Four steps (wash hands, sit, eat, all done) is plenty for a child new to visual supports. Add the drink, wipe, and clear-your-plate steps once the short version is working. A schedule your child can follow beats a complete one they ignore.
- What if my child will not come to the table or stay seated?
- Shorten the expectation before you shorten the schedule. Set a visible timer for a length of time your child can actually manage, even if that is two minutes, and let the all-done card end the meal honestly when the time is up. Staying seated grows from short successful sits, not from long forced ones.
- Should I put specific foods on the schedule?
- The schedule works best as a routine, not a menu. Keep the cards about the steps (sit, eat, drink, all done) and decide the actual foods separately. If you want food visuals, use a separate choice board so your child picks from accepted options rather than being shown a food they have to eat.
- My child eats very few foods. Will a schedule fix that?
- A schedule helps with the routine and the pressure around meals, which is often a big piece. It does not treat the food refusal itself. If your child eats fewer than 20 foods, is dropping foods faster than adding them, has lost weight, or gags during meals, ask your pediatrician for a feeding therapy referral. Visual structure and feeding therapy work well together.
- How do I use this with a child who cannot read yet?
- Point to each picture as you do the step together, and say the short label out loud. The icons carry the meaning, so reading is not required. Many families let the child move each finished card to a done pocket, which adds a satisfying signal that the routine is progressing.
Related templates
Morning Routine
Eight steps from wake-up through walking out the door, designed for autistic kids who melt down during the morning rush.
Bedtime Routine
Eight steps from dinner through lights-out, designed for autistic kids who fight bedtime or can't transition to sleep.
Full Day Schedule
Nine blocks from wake-up to bedtime, the best starter template for families new to visual scheduling.