How to Bind a Book at Home: Rings, Combs, and Coils for Durable Visual Supports
How to bind a book at home for visual schedules, communication books, and adapted books: the no-machine ring method, binding by hand, and how to use a comb or coil binding machine, step by step.
Key Takeaways
- The cheapest way to bind a book at home is a hole punch and binding rings. Punch the pages, thread a ring through, and you have a flip book that opens flat and lets you add or remove pages.
- You do not need a machine for most visual supports. Rings and a punch cover first-then boards, small schedules, and choice books for a few dollars.
- A comb binder opens a plastic spine so you can reopen the book and swap pages later; a coil binder winds a tougher spiral that lays flat and survives daily handling.
- Laminated cards are thicker than paper, so punch them in small batches and count each laminated sheet as more than one when you check a machine's capacity.
- Match the method to the use: rings for anything you reorder often, coil for a daily communication book, comb for a growing data binder.
Making a visual schedule, a communication book, or an adapted book usually ends the same way: you have a stack of printed, laminated pages and you need to hold them together so they open flat, turn cleanly, and survive being handled every day. That last step is binding, and you can do it at home for a few dollars or with a small machine. This guide walks through every method, cheapest first.
The quick version, in order of cost:
- Binding rings (a few dollars, no machine): punch, thread, done. Best for anything you reorder often.
- A loose-leaf spine or a comb by hand (a few dollars): press a plastic spine through punched holes.
- A comb binding machine (about $45): punches a stack and opens a reusable plastic comb.
- A coil binding machine (about $90): winds a tougher spiral that lays flat for daily-use books.
If you are deciding which machine to buy, the companion guide to the best binding machine for durable visual supports compares the exact models and spines, with a tested $30 option and a $5 no-machine pick.
Method 1: Binding rings (no machine)
This is the one to start with, and often the only one you need.
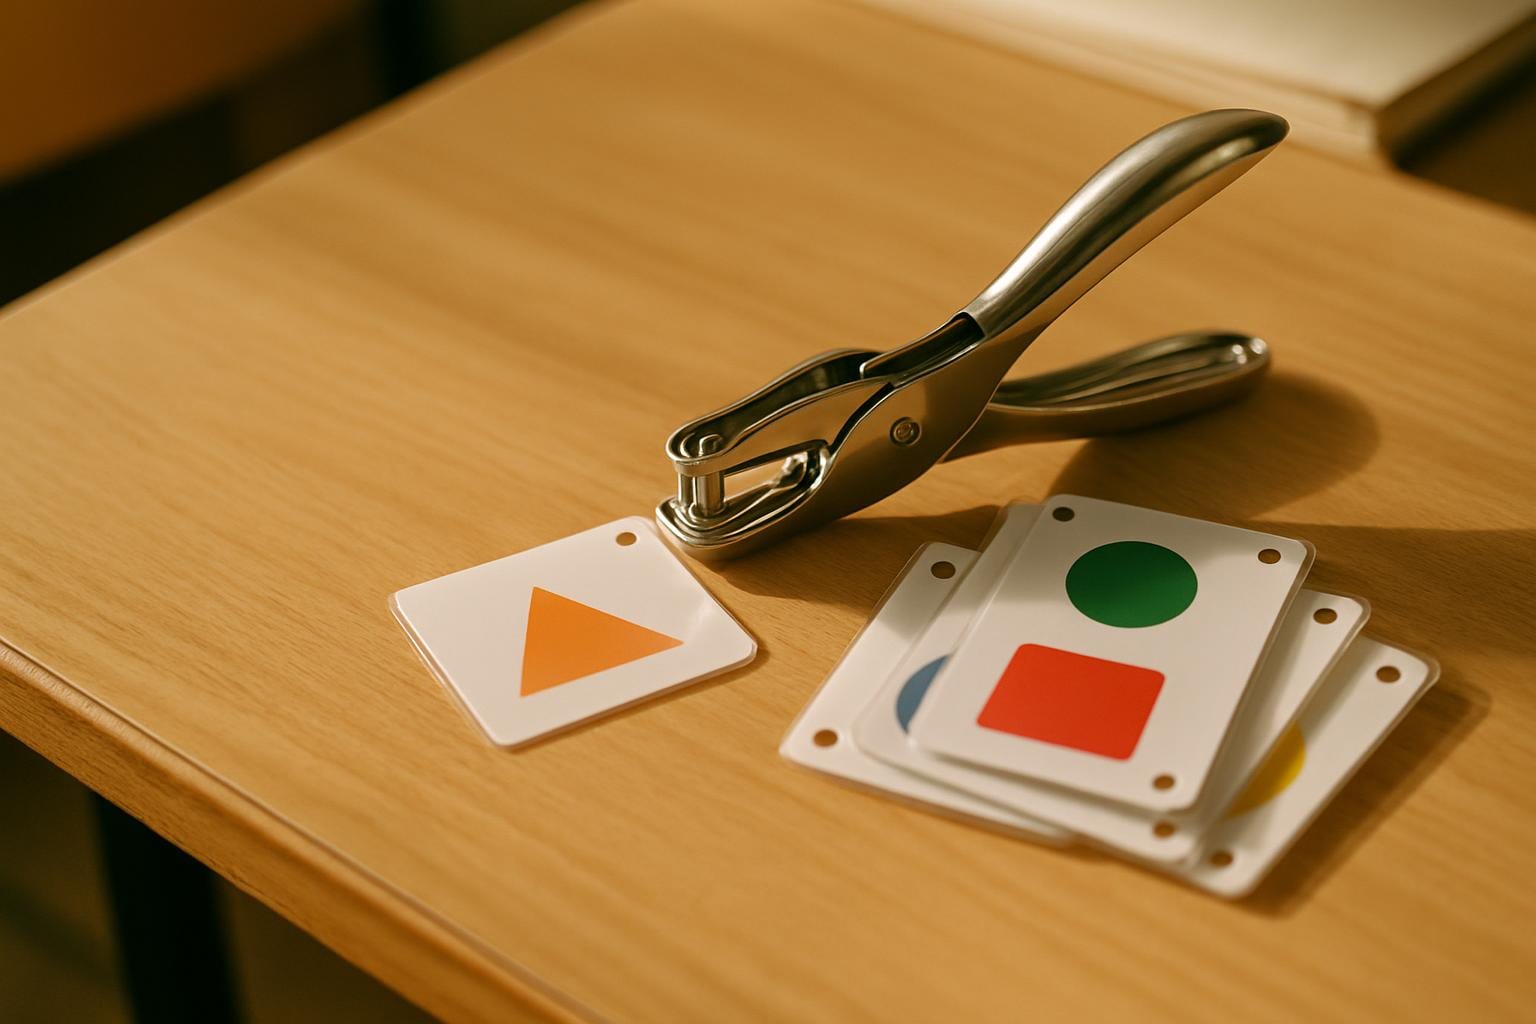
- Punch a hole in the same corner of each page or laminated card with an ordinary single hole punch. For laminated cards, punch one at a time so the hole is clean.
- Open a binding ring and thread the punched pages onto it in order.
- Snap the ring shut. That is the whole book.
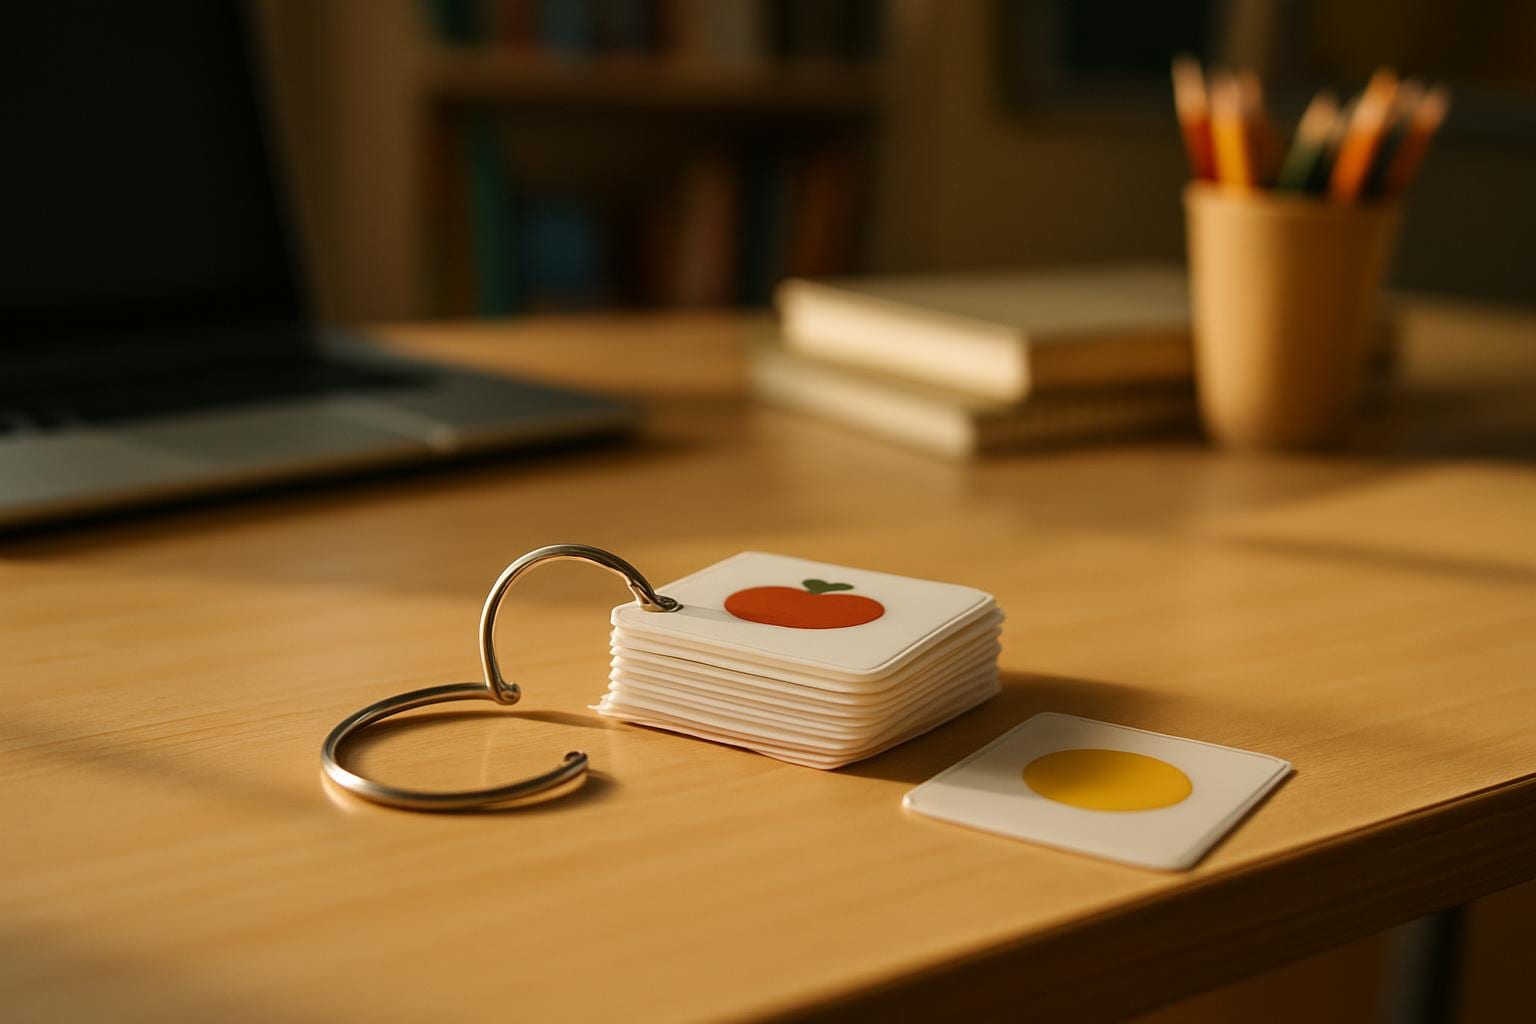
Rings open completely flat, let a child flip one card at a time, and let you add, remove, or reorder pages in seconds, which is exactly what a first-then board or a daily schedule needs. Use a larger ring for a thicker book, or two rings for a wide one.
Method 2: Binding by hand with a spine
If you want a cleaner spine without a machine, a flexible loose-leaf spine strip or a plastic comb can be pressed on by hand. Punch the pages with a multi-hole punch so the spacing matches the spine, line the spine up with the holes, and work it through a few holes at a time. This gives a book that looks bound and still lays flat, though it is slower than rings and less forgiving if your holes are not evenly spaced.
Method 3: A comb binding machine
A comb binder is the classroom standard, and it is worth the step up once you are making books often.
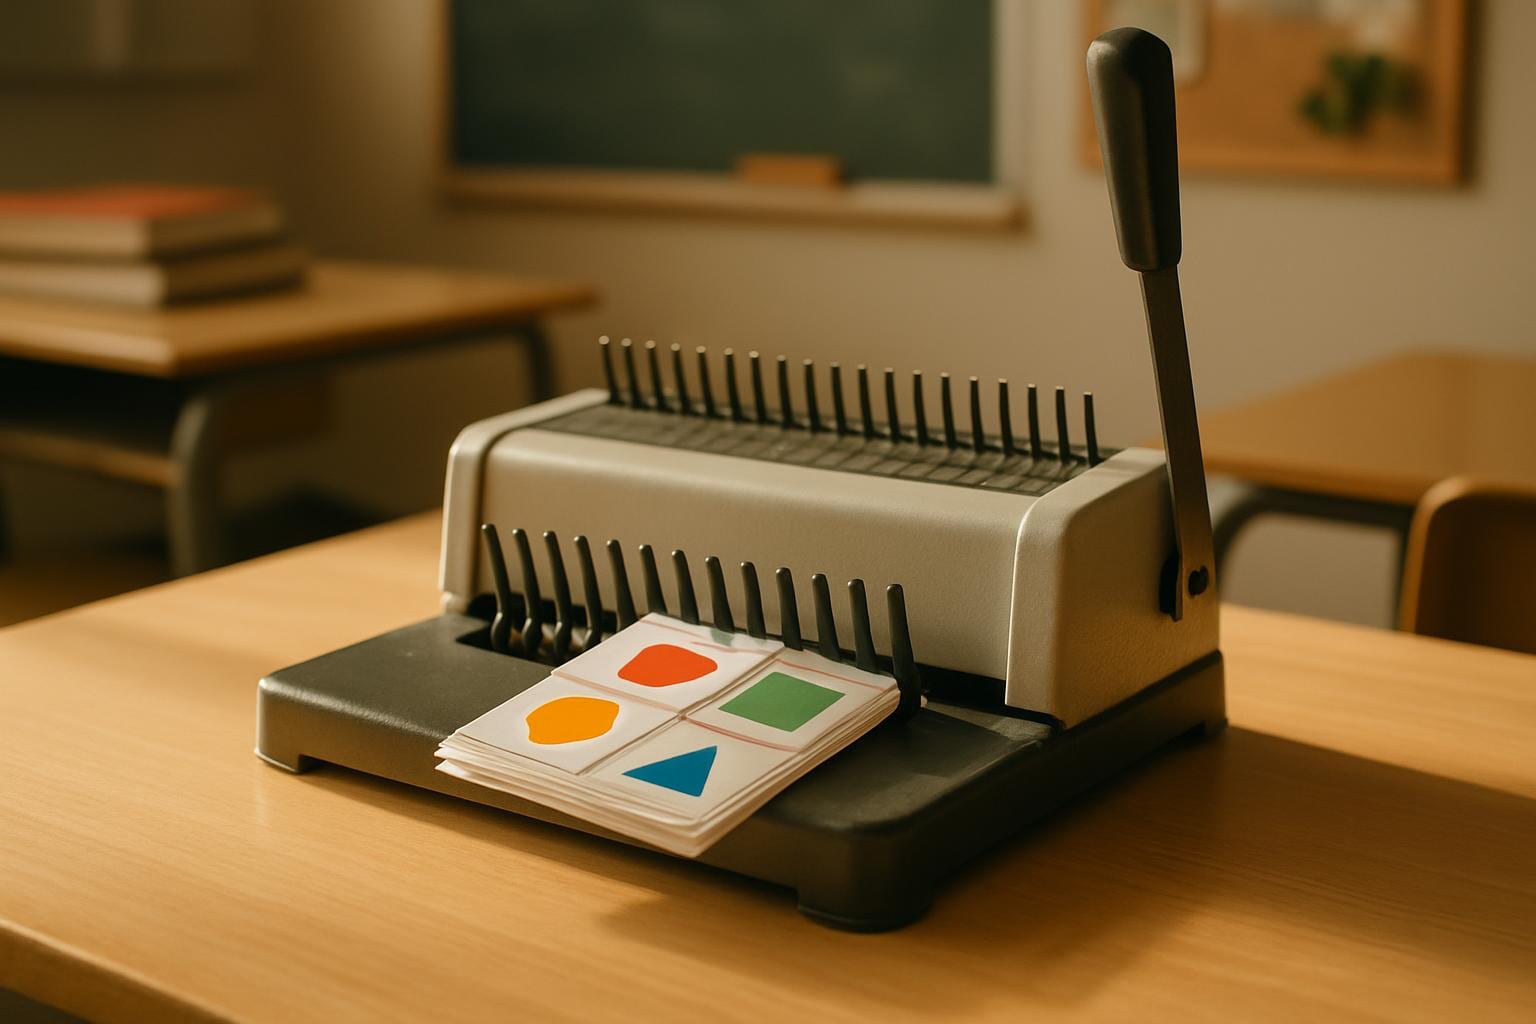
- Punch. Set the pages against the edge guide and pull the handle to punch a row of rectangular holes. Do a few laminated sheets at a time, because lamination is thick.
- Open the comb. Hook a plastic comb onto the machine's opening fingers and pull the lever to spread its teeth.
- Load the pages. Drop the punched pages onto the open teeth in order.
- Close. Release the lever and the comb springs shut through the holes.
The best part for a growing communication book: a comb reopens on the machine, so you can add or pull a page next month without rebinding.
Method 4: A coil binding machine
Coil is the toughest, flattest binding, and the right choice for a book that gets handled hard every day.
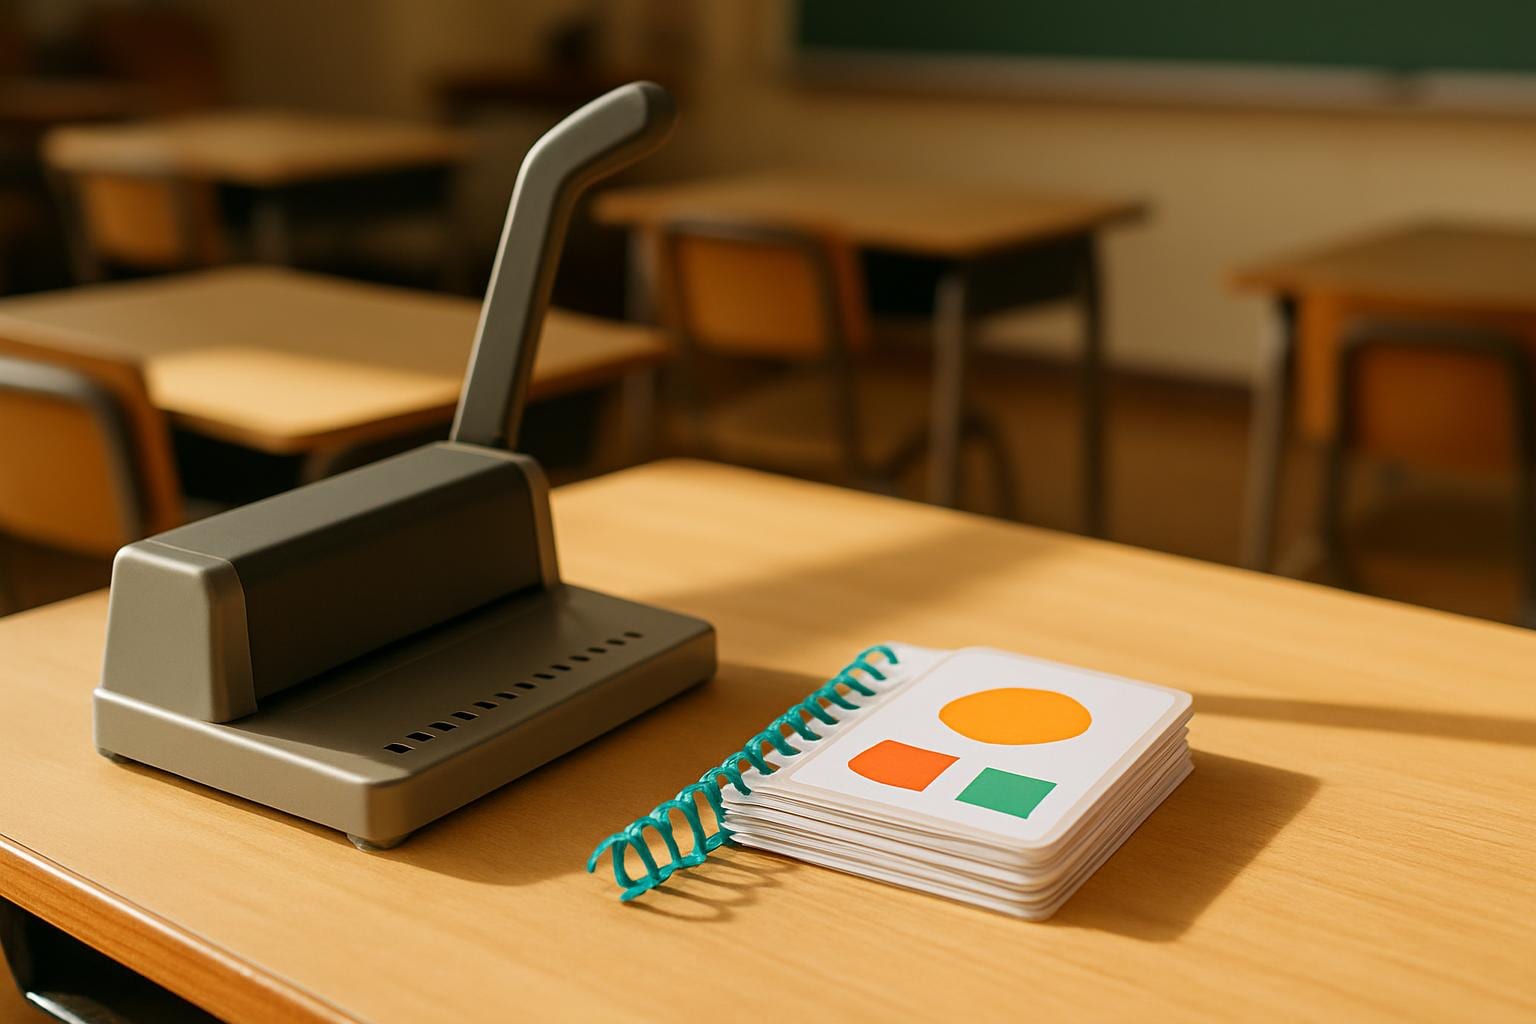
- Punch the pages with the round-hole die, again in small batches for laminated cards.
- Start the coil into the first few holes at a slight angle.
- Wind it through every hole, by hand or with the machine's electric inserter.
- Trim and crimp both ends so the coil cannot unwind.
A coil spine turns a full 360 degrees, so the book folds back on itself and lies perfectly flat on a desk or a wheelchair tray, which makes it a favorite for daily communication books and visual schedules.
Which method for which support
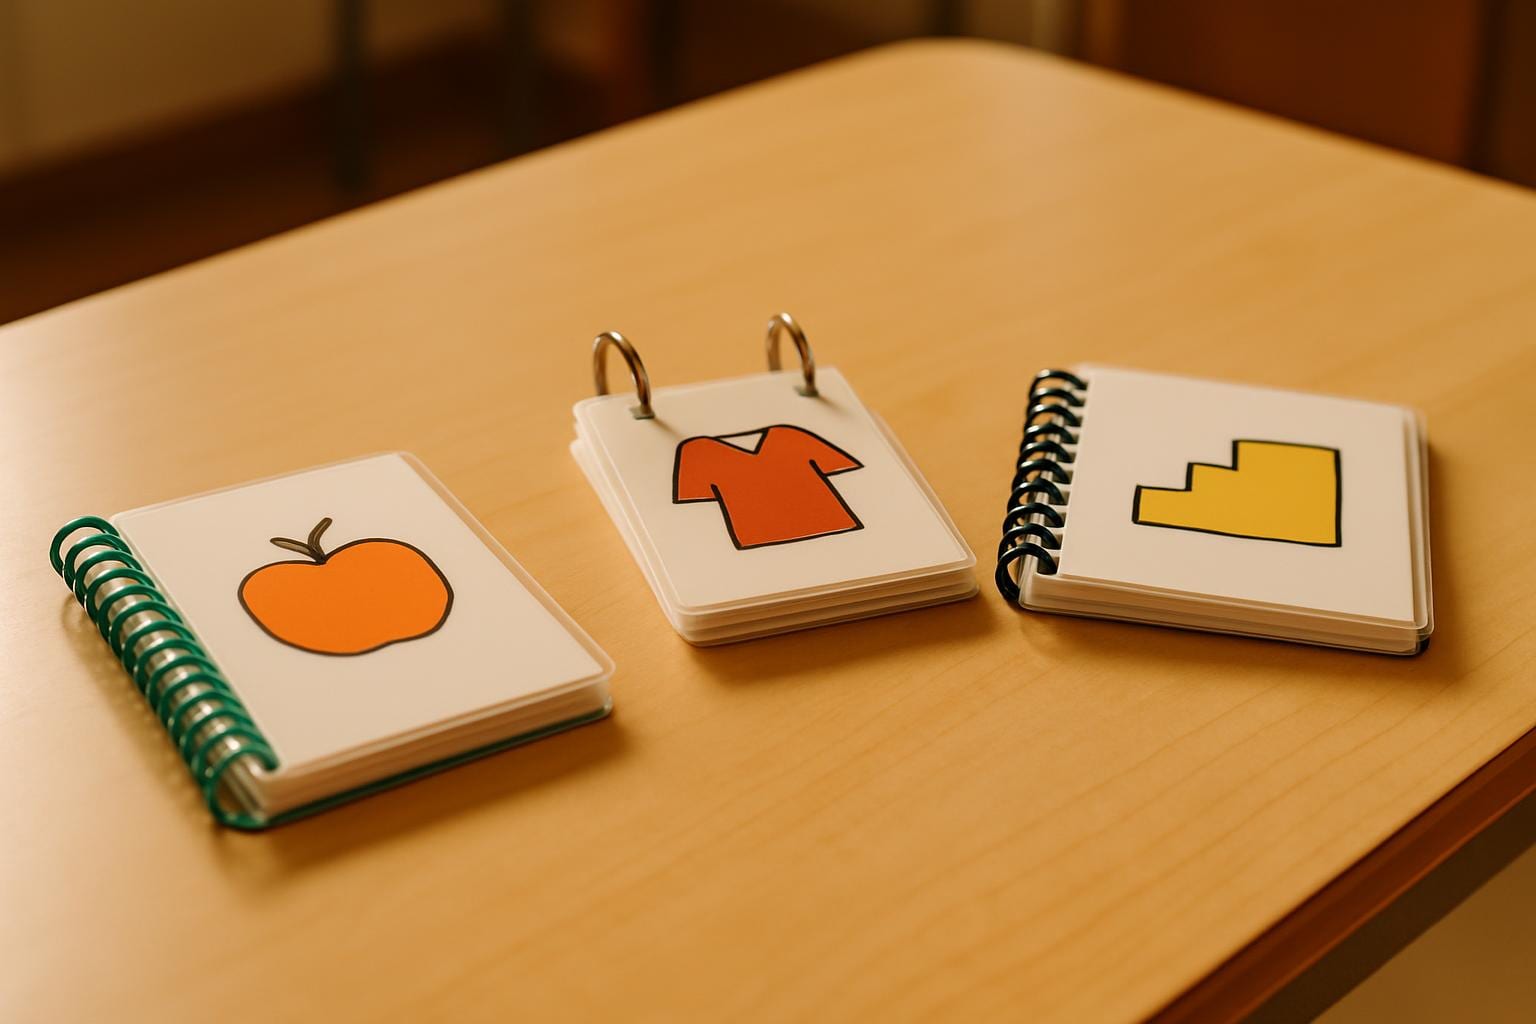
- First-then board or small choice book: binding rings. Instant, cheap, reorder on the fly.
- Daily communication book or visual schedule: coil, or sturdy rings. Both lay flat and survive handling.
- Adapted book a child turns page by page: comb or coil, sized up for thickness.
- One-time social story booklet: rings or a cheap comb.
- Teacher data binder: comb, so you can add pages through the year.
Whatever method you choose, the rule is the same: laminated pages are thicker than paper, so punch in small batches and size the spine up rather than down.
What to put in your bound books
Once you can bind, the question becomes what goes inside. Spectrum Unlocked's free makers build the pages: the visual schedule creator, the communication board maker, the adapted book maker, the social story maker, the PECS card maker, and the first-then board. For the background on each, start with the guides to building a visual schedule and a communication board, and the guide to making an adapted book you can print, laminate, and bind. For the rest of the make-your-own-supports kit, see the best laminator for teachers and the best binding machine for the models and spines.
Planning for a room where every student needs something different?
Beacon remembers your students and your setting, so you are not re-explaining them every time.
What would Beacon say?
"Help me plan a week for a mixed-goal group"
Beacon works from the goals and levels already in your room, then gives you something you can run on Monday. Not a blank template to fill in on Sunday night.
Spectrum Unlocked Editorial Team
Editorial Team
The Spectrum Unlocked editorial team combines lived experience as autism parents with research-backed guidance to create resources families can trust.
Frequently asked questions
- What is the easiest way to bind a book at home?
- A hole punch and binding rings. Punch a hole in each page or laminated card, open a metal or plastic ring, thread the pages on, and snap it shut. It takes a minute, needs no machine, opens completely flat, and lets you add, remove, or reorder pages whenever you want. For most home visual supports this is all you need.
- How do you bind a book without a machine?
- Punch the pages with a regular hole punch, then hold them together one of three ways: binding rings threaded through the holes, a loose-leaf spine strip pressed through the holes, or a plastic comb opened by hand and the pages dropped onto its teeth. Rings are the simplest and the most forgiving, and they are the only method that lets a child or teacher reorder pages freely.
- How do you use a comb binding machine?
- Line the pages up against the machine's edge guide, pull the handle to punch a row of rectangular holes, repeat for the whole stack a few sheets at a time, then set a plastic comb on the machine's opening fingers, pull the lever to open the comb's teeth, drop the punched pages onto the open teeth, and release so the comb closes through the holes. The comb can be reopened later to add or remove pages.
- How do you use a coil or spiral binding machine?
- Punch the pages the same way you would for a comb, using the round-hole die. Then take a plastic coil in the right diameter, start it into the first few holes at a slight angle, and wind it through all the holes, either by hand or with the machine's electric inserter. Trim and crimp the ends so the coil cannot unwind. A coil lays completely flat and turns a full circle, which is why it holds up to daily handling.
- How many laminated cards can I bind together?
- It depends on the spine size, not the machine. A small ring or a half-inch comb or coil holds a thin book of a dozen or two laminated cards; step up the ring or spine diameter for a thicker book. Because lamination adds thickness, a stack of laminated cards fills a spine faster than the same number of paper pages, so size up if in doubt.