How to Make an Adapted Book: Build, Print, and Assemble
Complete guide to making a DIY adapted book: build it free in the browser, print it, and assemble it with a laminator and velcro, a binder, or just scissors and glue. Includes the ready-made velcro book templates.
Key Takeaways
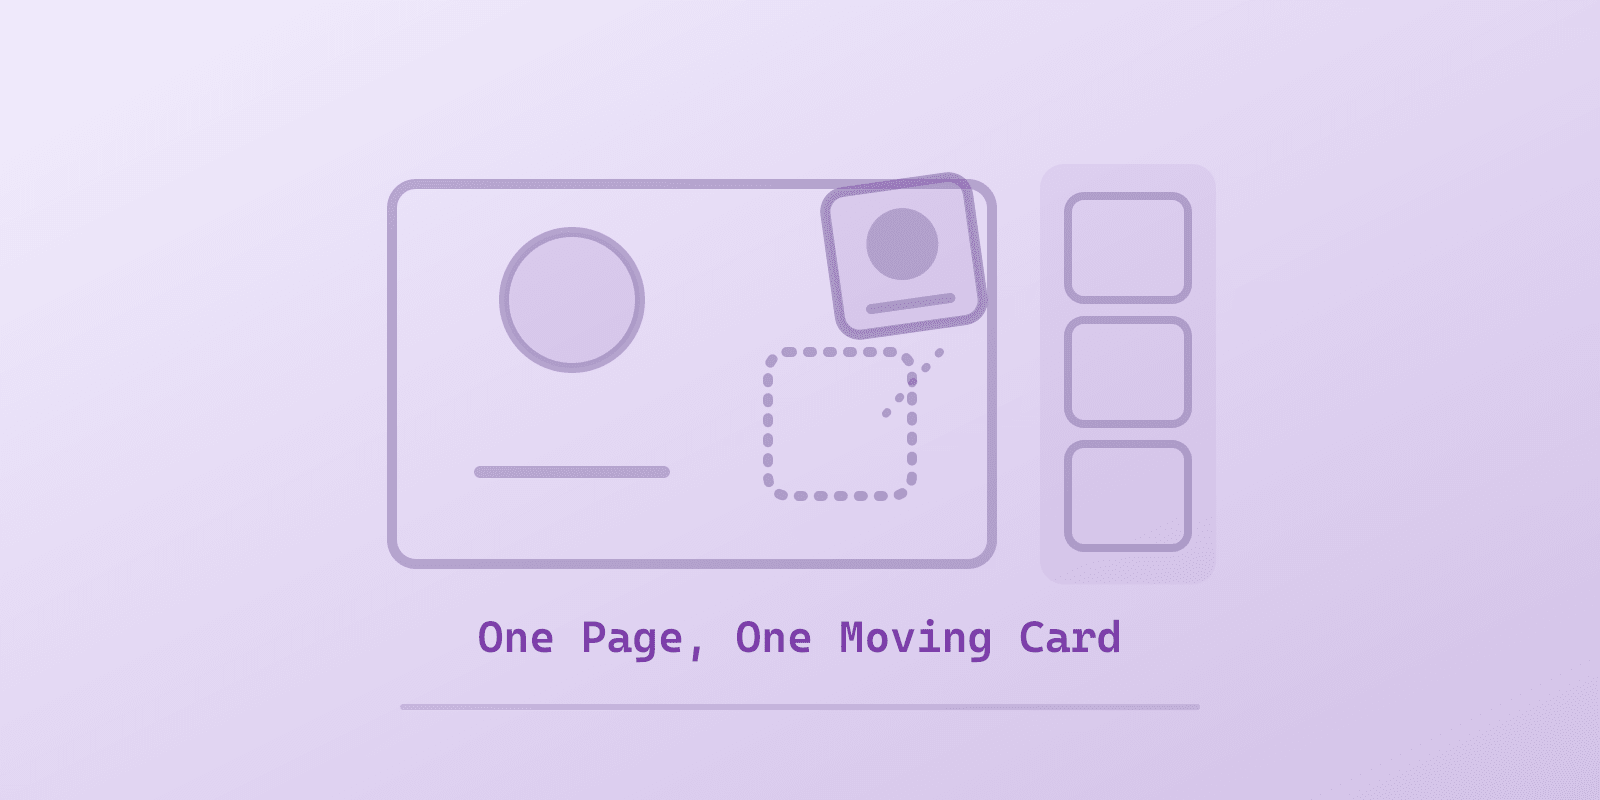
- An adapted book is a printable book a child completes by moving a picture card into a box on each page. The moving piece is the point: it turns listening into participating, which builds attending, matching, and language at the same time.
- You can build one free in the browser in about ten minutes: pick a sentence starter, add picture pages from the symbol library or your own photos, and watch the live preview update as you type. No sign-up.
- Every book prints with its choice column on a longer last page, so the answer cards stay in view on every page and the book never needs resetting between readers.
- There are four ways to assemble it, from the classic laminate-and-velcro build down to plain scissors and glue. The book works at every budget level, including no supplies at all (point to the answer instead).
- Print at 100 percent and check the 1-inch square on the card page before cutting. The cards and the boxes share one exact size, so scaled printing is the one mistake that ruins the build.
An adapted book, also called an interactive book or a velcro book, is a printable book changed so a child who cannot yet read independently can still take part in reading it. Each page pairs one picture with one short predictable sentence, and the child completes the page by moving a picture card into a box. That moving piece is the whole trick: a child who would drift during a read-aloud stays in the book because the book keeps handing them something to do.
Special education teachers build these by the shelf-full, speech therapists carry them between sessions, and parents make them for the specific words a child is working on this month. This guide covers all of it: how to build one free in the browser, what comes out of the printer, every way to assemble it from a full laminator setup down to a glue stick, and how to use the finished book at home, in a classroom, or in a therapy session.
If you want the fastest possible start, here is the whole process:
- Build it: open the free Adapted Book Maker, pick a sentence starter, and add a page per word. Or open a ready-made adapted book with every page already loaded.
- Print it: at 100 percent, single-sided.
- Check it: the square on the card page must measure exactly 1 inch.
- Assemble it: laminate and velcro, or a binder and sheet protectors, or scissors and glue. The printed assembly page walks through each path.
- Read it: your child moves the card, you read the sentence together, nobody resets anything.
Want to skip the build entirely? The free adapted book templates cover snack requests, sensory breaks, feelings, I spy hunts, and the holidays. Each one opens in the maker with every page loaded, ready to print as-is or change.
Why the moving piece works
A read-aloud asks a child to sit and receive. An adapted book asks them to act, and the acting is where the learning hides.
Attending. The child has a job on every page, so their attention has somewhere to go. Teachers reach for interactive books precisely for the kids who slide off the carpet during story time: the book keeps re-inviting them back with the next card.
Matching. Finding the right card and seating it in the box is visual discrimination practice, the same skill that underpins sorting, letter recognition, and eventually sight words.
Expressive and receptive language together. You read the question or the prompt (receptive), the child completes and says the sentence (expressive). The sentence is predictable on purpose: "I want" plus one word that changes. Predictable frames are how many children produce their first spontaneous sentences, and they mirror the phrases AAC users practice every day. If your child is starting out with picture-based communication, the AAC beginner's guide explains how this kind of modeling fits the bigger picture, and PECS cards cover the exchange-based side of the same skill.
The format is an old special education staple for a reason. What used to require a teacher's weekend with clip art, a printer, and a laminating queue now takes ten minutes in a browser.
Build it in the free maker, step by step
Open the Adapted Book Maker. Everything happens on one screen: your controls on the left, and a live preview of the actual printed sheets on the right that updates as you type. What you see in that preview is exactly what comes out of the printer, cut lines and all.
1. Name the book and pick a sentence starter
Give the book a title (it prints on the cover) and, if you like, a child's name (it prints on a "This book belongs to" line, so making a copy for each student is just a name change and a reprint).
Then pick the sentence starter, the frame every page repeats:
- I want for requesting books: snacks, toys, activities.
- I see for naming books: animals, vehicles, people.
- I need for self-advocacy books: help, a break, the bathroom.
- I feel for emotions books.
- Write my own for anything else: "I hear", "I like", "We found". Type it once and every page uses it.
2. Add word pages
A word page is the classic adapted book page: one big picture, one velcro box, one sentence. For each page:
- Choose Picture opens the symbol library. Search it, browse by category, or upload your own photo. For many early learners a photo of their actual snack cupboard beats any illustration.
- Word is the answer word. It fills into the sentence and labels the cut-out card.
- Small word before it keeps the sentence in real English: "an apple", "the juice", or no small word at all for plurals and feelings. The maker picks the right one automatically as you type the word, and you can override it.
There is also a question option on every word page: add a question line at the top ("Where is the girl?") and a per-page sentence start ("She is in"), and the page becomes a wh-question page, with a pronoun choice of he, she, or they. A whole book of those makes a where-book or a what-is-happening book, the style therapists use for comprehension practice.
3. Add I spy pages
An I spy page scatters a small scene of pictures and asks the child to find one: "I spy something red." The child finds the red thing among the decoys and moves its card into the sentence strip at the bottom. You pick the scene, the target (a color or a specific object), and the answer. It is a search task instead of a naming task, which makes it the high-engagement page kids ask to repeat.
4. Arrange, check, download
Reorder pages with Up and Down, remove what is not working, and Undo anything you regret. Pick US Letter or A4. Watch the preview: every sheet is there, including the pieces you will cut. When it looks right, Preview opens the PDF, Download saves it. The whole tool is free, with no sign-up.
There is no page cap. The book's supporting pages grow with it automatically: a big book simply prints more choice sheets and more card sheets. In practice, eight to twelve pages is the sweet spot for one sitting; past that, make two books on two topics rather than one long one.
What comes out of the printer
Your PDF contains more than story pages, and each piece has a job:
- The cover, with the title, the book's own pictures, and the sentence frame.
- The assembly page, a plain-language build guide that stays with the book, so a paraprofessional, grandparent, or substitute can rebuild or re-explain it without you.
- The story pages, each with a dashed cut line down the right side. You trim every story page at that line.
- The last page, which you do not cut. This is the clever part of the format: the choice column, a grid of labeled boxes holding all the answer cards, lives on the strip that only the last page keeps. Because every other page is trimmed narrower, that column stays visible at the edge of the book on every single page. The child can always see the choices, match a card from the column to the page they are on, and put it back when done. The book never needs resetting between readers, which any teacher who has re-velcroed thirty books on a Friday will tell you is the feature that matters.
- Extra choice sheets, only if your book is big enough to need them.
- The card sheet, with every cut-out card and a printed square that must measure exactly 1 inch. That square is your scaling check, and it is worth ten seconds every time: the cards and boxes share one exact size, so if the square is off, stop and reprint at 100 percent before cutting anything.
Assembling it: four builds, from full kit to no kit
This is where an adapted book becomes the durable classroom object you have seen in photos. Pick the path that matches your supplies and how hard the book will be used.
The classic build: laminate and velcro
The version that survives years of small hands.
You need: a laminator with 5 mil pouches, 3/4 inch velcro coins, scissors, and a binding (spiral coil, metal book rings through punched holes, or a comb binder).
- Print single-sided at 100 percent, and check the 1-inch square.
- Laminate every sheet. Use 5 mil pouches rather than 3 mil: pages get gripped, bent, and occasionally chewed, and 3 mil folds where 5 mil shrugs. If you are buying a machine, the best laminator for teachers guide covers which one and which pouches.
- Cut the story pages on their dashed lines. Leave the last page whole. Cut out the cards, cutting just outside the laminated edge so each card stays sealed.
- Velcro: soft (loop) coins in the boxes on the pages and in the choice column, rough (hook) coins on the backs of the cards. Keep that orientation consistent across every book you ever make, and every card works in every book.
- Bind on the left: spiral or comb if your school has the machine, or a hole punch and two book rings, which open flat and let you swap pages later.
The binder build: no laminator
Slide each sheet into a page protector in a 3-ring binder, and stick the velcro coins onto the protectors instead of the pages. The plastic takes the velcro, the paper stays untouched, and you can swap a new book into the same protectors next month. This is the cheapest durable build and the easiest one for a home.
The glue build: print once, use once
Skip lamination and velcro entirely: your child glues each card into its box as you read. The book becomes a one-time craft and a keepsake, and gluing is fine motor practice in its own right. Print a fresh copy whenever you want to run it again. For a book you made in two minutes from a template, a consumable copy is a perfectly good deal.
The no-pieces build: nothing but the printout
Do not cut anything. Read the book and have your child point to the answer in the choice column, or name it, or find it on the page. This also makes the book work on a screen with no printer at all, which is how teletherapy sessions use it: share the preview or the PDF, and the child points or answers aloud.
If your child uses AAC, every build pairs with the device: your child answers on their talker while you tap each printed word of the sentence as you read it together. The predictable starters, I want and I see and I need, mirror core phrases most AAC users practice daily, so the book becomes rehearsal for real requests.
Reading direction is your difficulty dial
Every book has two levels built in, using the same pieces:
- Level 1: picture to picture. Cards start in the choice column. The child finds the card matching the page's picture and moves it to the page. Matching a picture to an identical picture is the easier direction.
- Level 2: picture to word. Cards start on the pages. The child returns each card to its labeled box in the choice column, matching the picture to the printed word. That is early sight reading, and it is the direction to grow into.
Either direction leaves the book ready for the next reader, which is why the format needs no resetting.
Once your pages are printed and laminated, how to bind a book at home walks the ring, comb, and coil methods step by step, and the best binding machine guide compares the tools and spines that hold an adapted book together.
Ways to use it
At home an "I want" book turns daily requests into practice: build one from the foods actually in your kitchen or the toys actually in the bin, and read it right before snack time so the practice pays off immediately. If transitions are the battleground, the requesting page pairs naturally with a first-then board for what happens after the request. And when the challenge is explaining a situation rather than naming a thing, that is the job of a social story instead: the two formats are cousins, one teaches words, the other teaches what to expect.
In the classroom interactive books run centers and circle time: one book per station, or one book passed along the carpet with each child completing a page. Because the choice column shows on every page, a paraprofessional can run the station without any setup knowledge beyond the book's own assembly page.
In speech sessions the predictable frame carries articulation and vocabulary targets, the wh-question pages carry comprehension goals, and the two reading directions let one book serve a mixed group. SLPs who bill minutes love an activity where every turn produces a countable utterance. A child in the group who drops the ends of words can work from final consonant deletion minimal pairs, and one who swaps sounds from the stopping or fronting picture cards, all cut apart to fit the same turn-taking. The same mixed-group logic carries over to a holiday week, where Halloween articulation worksheets give each child a page for their own sound. Outside the holiday itself, fall articulation worksheets, Thanksgiving articulation worksheets and Christmas articulation worksheets keep the same one-page-per-sound setup from September to winter break. Sound targets beyond the book's own words can come from the Articulation Bundle, ten sound packs that run from words to sentences.
The ready-made books each open fully editable in the maker. Start with Snack Choices for a first book at home; the list below is the live gallery, so a new book appears here the day it ships:
- Snack Choices: An 'I want' requesting book with eight snack pages, ready to print, cut, and velcro.
- Sensory Breaks: An 'I need' book for asking for breaks and sensory tools, with eight regulation pages.
- Feelings: An 'I feel' book with eight emotion pages, from happy and excited to worried and tired.
- I Spy Colors: A color hunt book: find the one thing that matches each color and velcro it into the sentence.
- I Spy Classroom Objects: A find-it book for classroom vocabulary: hunt for the named object and velcro it in place.
- I Spy Halloween: A Halloween hunt book: find the pumpkin, the ghost, or the bat in the scene and velcro it into the sentence.
- I Am Thankful: A Thanksgiving book: eight things a child can be thankful for, one picture per page, and the sentence 'I am thankful for my family'.
- I Spy Christmas: A Christmas hunt book: find the tree, the gift, or the reindeer in the scene and velcro it into the sentence.
- I Spy Farm Animals: A farm hunt book: find the cow, the pig, or the chicken in the scene and velcro it into the sentence.
- I Spy Zoo Animals: A zoo hunt book: find the lion, the elephant, or the giraffe in the scene and velcro it into the sentence.
If you would rather print the whole shelf than build one book at a time, the Adapted Book Complete Set ships fourteen velcro books, four of them not available free, each with a class set of cards, comprehension cards and a data sheet, in color and ink-saver, Letter and A4. The Calm-Down Strategies free sample is one full book from the set with its cards and data sheet, so you can see what the set adds before buying.
Troubleshooting
The cards do not fit the boxes. Scaling, every time. Measure the printed 1-inch square, then reprint with actual size or 100 percent selected, and turn off any fit-to-page option.
The velcro tears the paper. Bare paper cannot hold velcro through repeated pulls. Move to the binder build (velcro on the protectors) or laminate. If a laminated card starts peeling at a corner, trim slightly further from the edge next time so the seal holds.
The cards get thrown, chewed, or lost. Start with the no-pieces build and let the book be a pointing book for a while; the language practice survives the missing velcro. Reprint the card sheet any time for fresh pieces, and store loose cards in a zip bag clipped into the binder.
The book is turning into a novel. There is no page cap, but attention has one. Split a fifteen-word topic into two eight-page books, and rotate them.
A page stopped being interesting. Books from the maker are never finished: reopen your design, swap the stale page for a new word, and reprint just that sheet. If you shared the book with a Create Editable Link, anyone with the link can make their own tweaked copy without touching yours.
Related resources from Spectrum Unlocked
- Adapted Book Maker (build your own free)
- Free adapted book templates gallery
- PECS Card Maker for the matching loose-card sets
- First-Then Board Complete Guide
- AAC for beginners
- Best laminator for teachers
- Sites like Teachers Pay Teachers for sellers, if you sell the resources you make and want to know what each marketplace keeps on a $5 sale
The student has something to say. The route is the problem.
Beacon remembers your students and your setting, so you are not re-explaining them every time.
What would Beacon say?
"What communication support fits this student?"
Beacon looks at how the student communicates today and suggests the next step up, then gives you the boards to print for it.
Spectrum Unlocked Editorial Team
Editorial Team
The Spectrum Unlocked editorial team combines lived experience as autism parents with research-backed guidance to create resources families can trust.
Frequently asked questions
- What do I need to make an adapted book?
- At minimum, a printer and scissors. The classic build adds a laminator with 5 mil pouches, velcro coins, and a binding (spiral, rings, or a comb). A middle path uses a 3-ring binder and sheet protectors instead of laminating. The simplest build of all is print once and let your child glue the cards in place. The book prints with a full assembly page listing every path.
- How long does it take to make an adapted book?
- Building one in the free maker takes about ten minutes, or under one minute if you start from a ready-made template. Assembly depends on the path: the glue build is ready the moment it prints, the binder build takes about ten minutes, and the full laminate-and-velcro build takes twenty to thirty minutes, most of it lamination and cutting.
- What size velcro do I use for an adapted book?
- Standard 3/4 inch velcro coins fit the answer boxes with room to spare. Put the soft (loop) side in the boxes on the pages and the rough (hook) side on the backs of the cut-out cards. Keeping the rough side on the cards means pages stay comfortable to touch and cards grab firmly anywhere on the box.
- Why do my cards not fit the boxes?
- Your printer scaled the pages. The cards and the boxes share one exact size, so any scaling breaks the fit. The card page prints with a square that should measure exactly 1 inch. If it measures anything else, reprint with scaling off, sometimes labeled actual size or 100 percent, and the cards will drop cleanly into every box.
- Can I make an adapted book with my own photos?
- Yes. The maker's Choose Picture button accepts your own uploads alongside the built-in symbol library, and for many early learners a photo of their actual cup or their actual swing works better than any drawing. Photos print on the page and on the matching cut-out card, so the child matches the real thing they know.
- Are adapted books only for children who cannot read?
- No. Emerging readers use the predictable sentence as their first independent reading, matching the card to the printed word instead of to a picture. That word-matching direction is the harder level built into every book, so the same printout grows with the child from matching pictures to reading words.